Hello 👋everyone and hive DIY community.
I hope you are all well and living your beautiful life well. I am also well and today's beautiful day started with a business because I had to do some household chores and after that I went to work. After coming back from work I also took some time out and recently my friend got married.
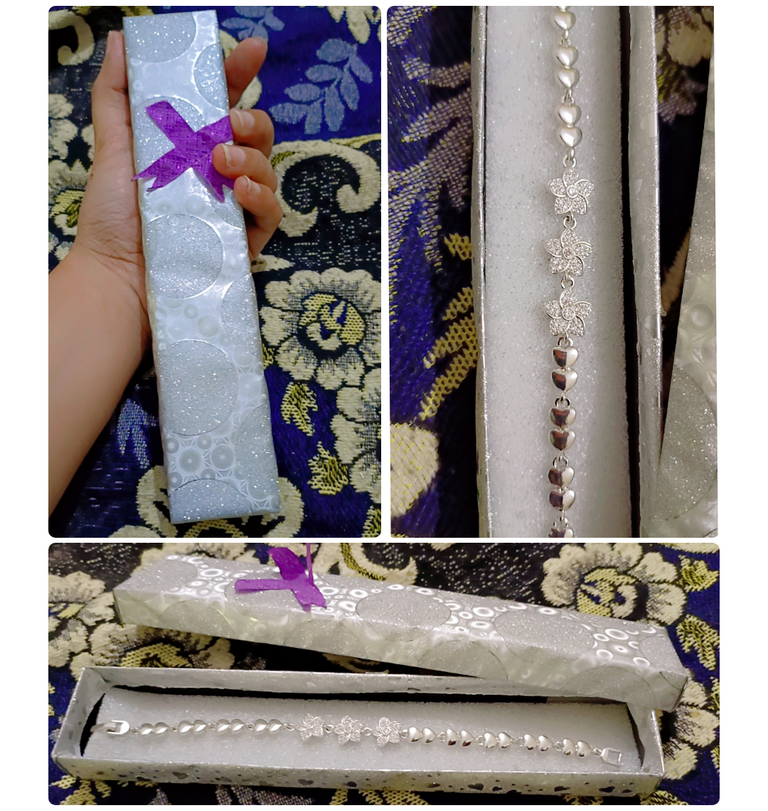
We have spent our entire childhood together because we used to sit together since childhood. Now we have gone to university. After finishing school and college, my friend got married few days a ago. I am very happy for her. I pray to Allah to bless her and grant her a lot of happiness. I congratulated her on her happiest day. I bought a small gift for her and made this card. I made the card with a lot of efforts. I was scrolling through YouTube and a video came up in front of me. After watching this card, I made this for her. As a gift, I have taken a silver-colored bracelet for her.
I hope she will like it.
And also , I have made this beautiful card for her. I have tried my best to make it good. I hope you like it. And this is my first post on hive diy.InshaAllah, I will continue to bring creative post in the future. So instead of wasting time, let's move on to the step-by-step tutorial of today's post.
source:-
simple source
Material:-
Colourful Paper
colours
Scissors
Pencil
Black pointer
Glue
Glitter colours
Procedure:-
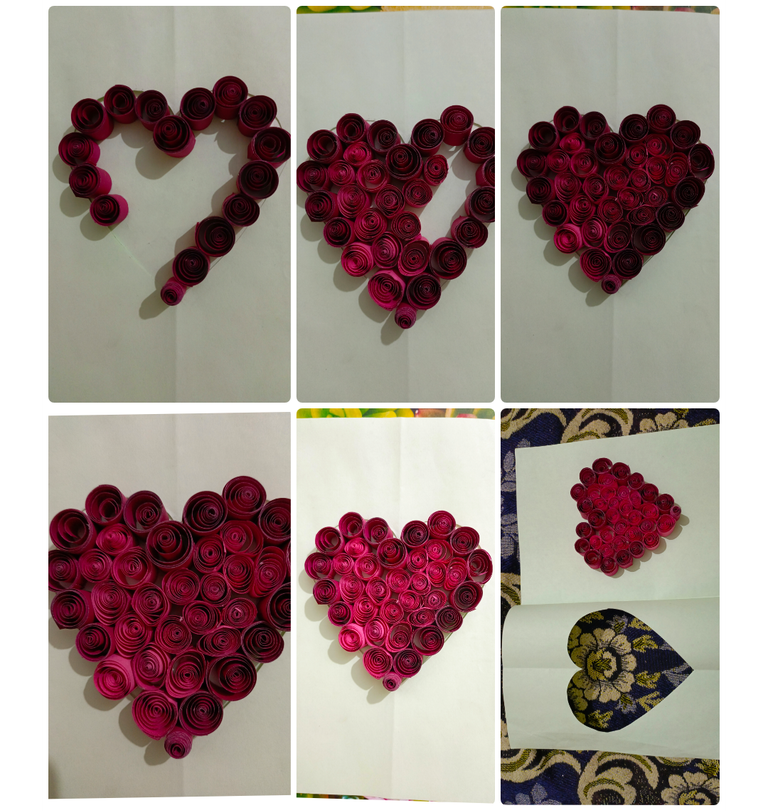
Step 1
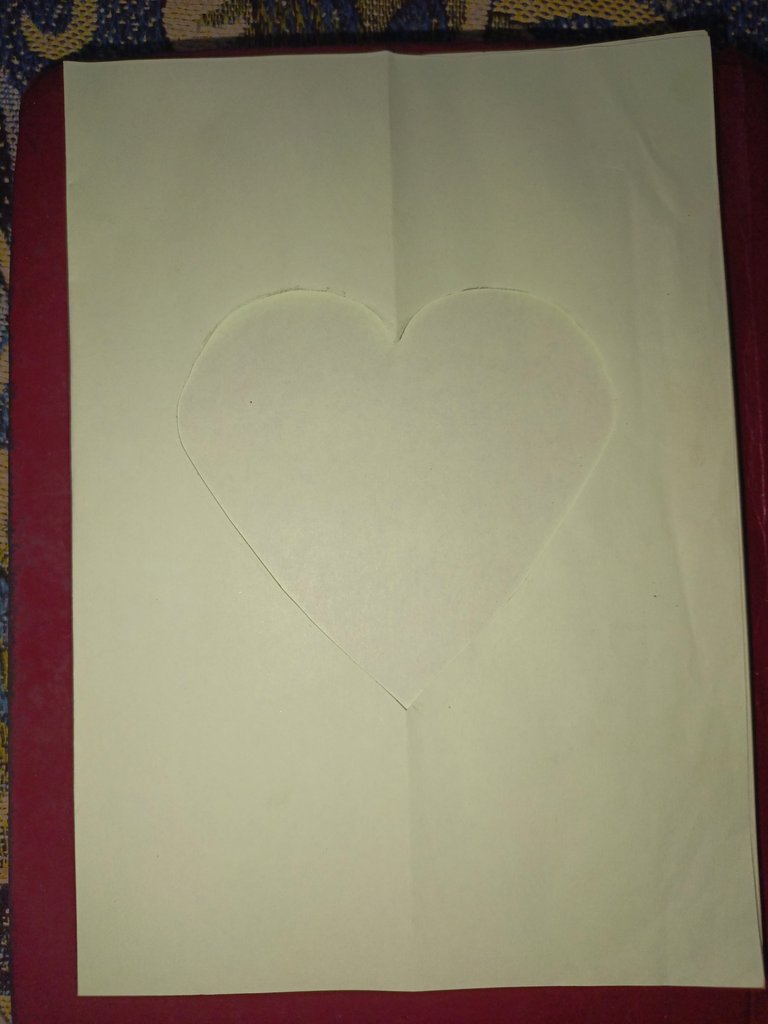
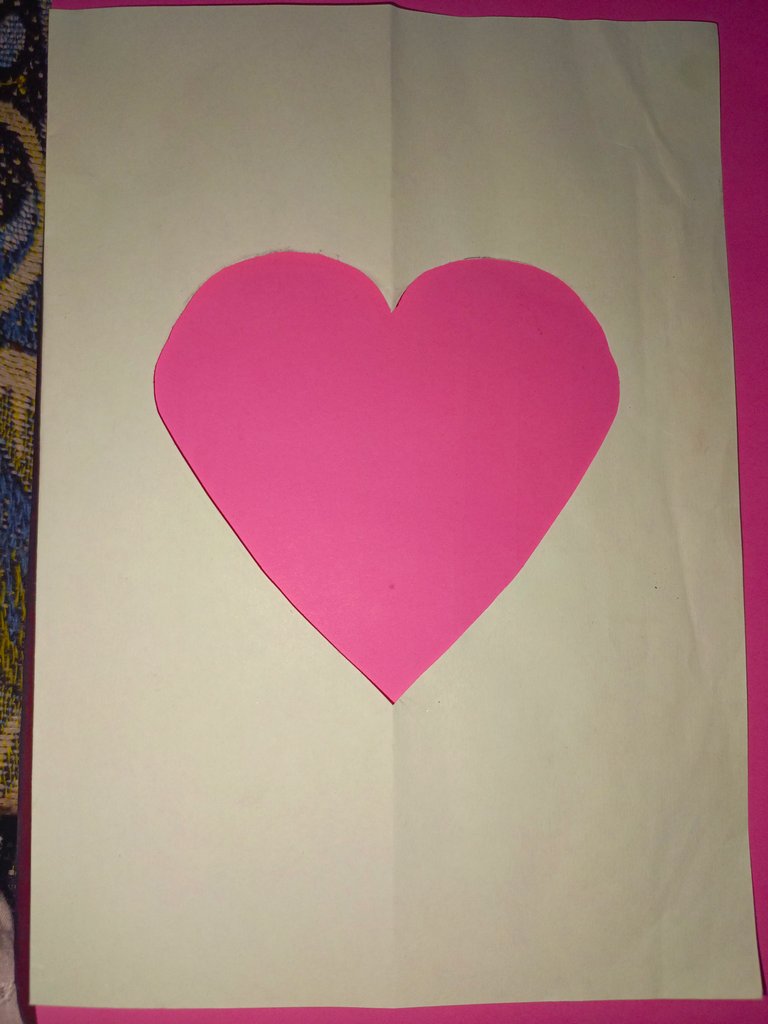
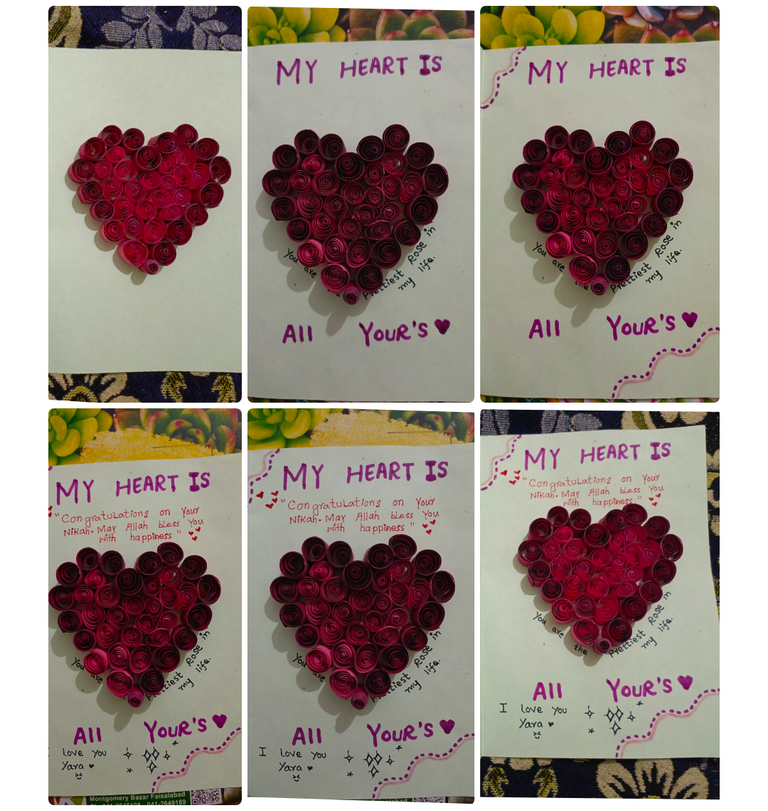
First of all, in step number one, I took a paper of light green color and I folded this paper and cut it into a card shape and cut a heart in the middle.
Step 2
Then in step number two, I took two pages of purple and light pink and cut them into equal pieces.
I made long strips of paper.
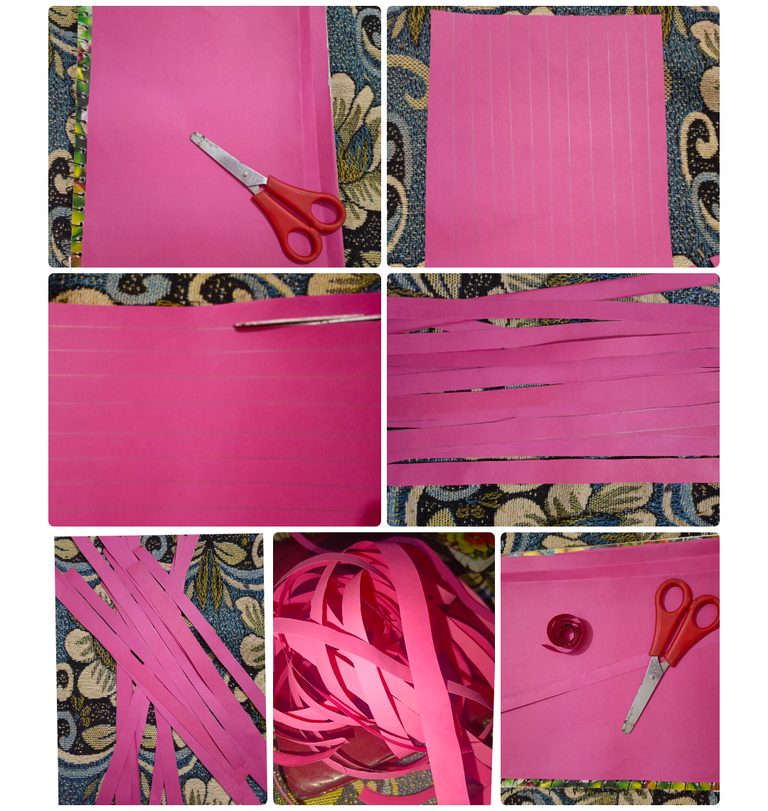
Step 3
then in step number three I folded all these strips one by one and gave them the shape of a rose.

Step 4
Then in step number four I set all these flowers one by one inside this heart.
Step 5
Then in step five , I made small hearts on the front page in dark purple and light pink colors.
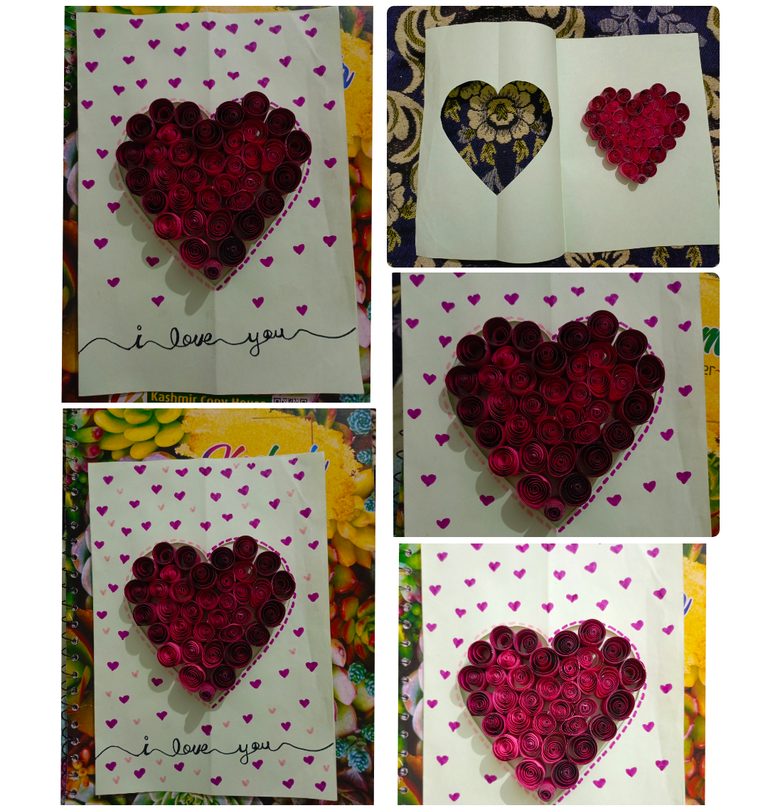
Step 6
After that, in the step six, I wrote on the front page of the card, I love you.
Step 7
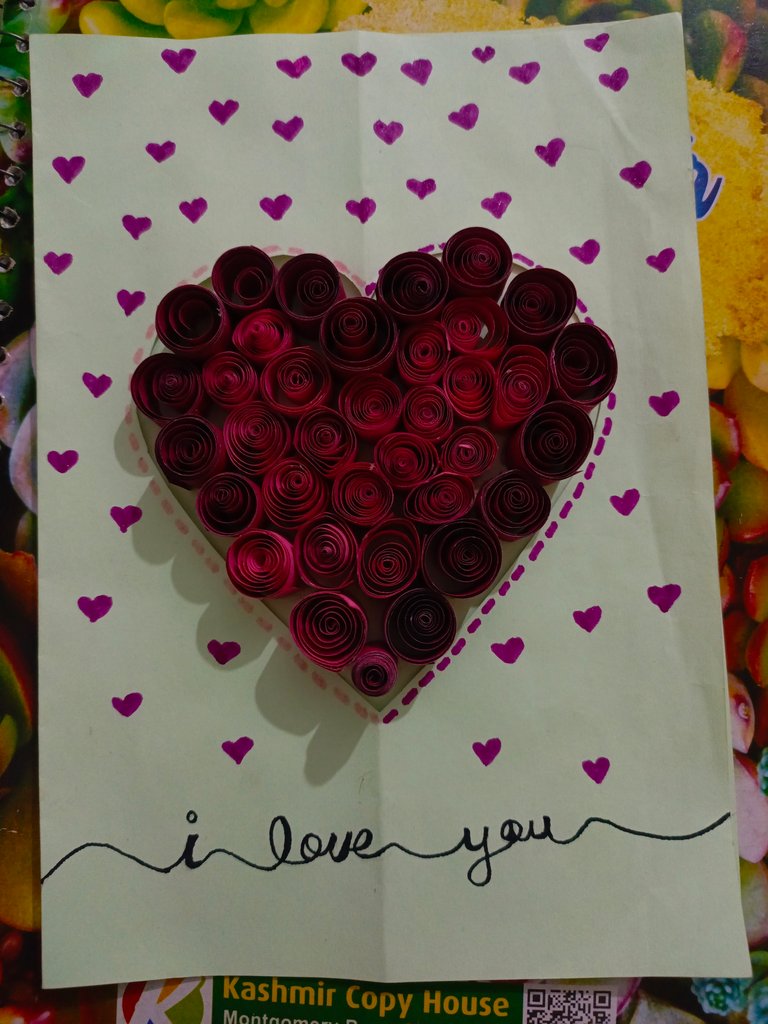
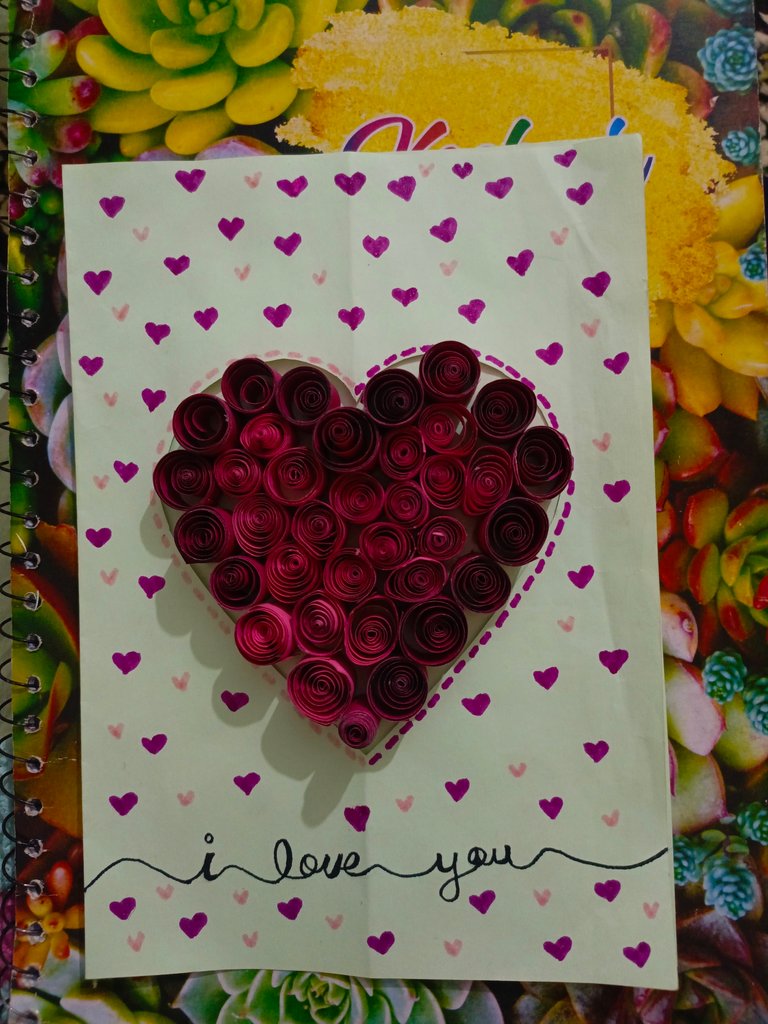
After that, in the step seven, I added some quotations inside this card and this is the final look of my card.
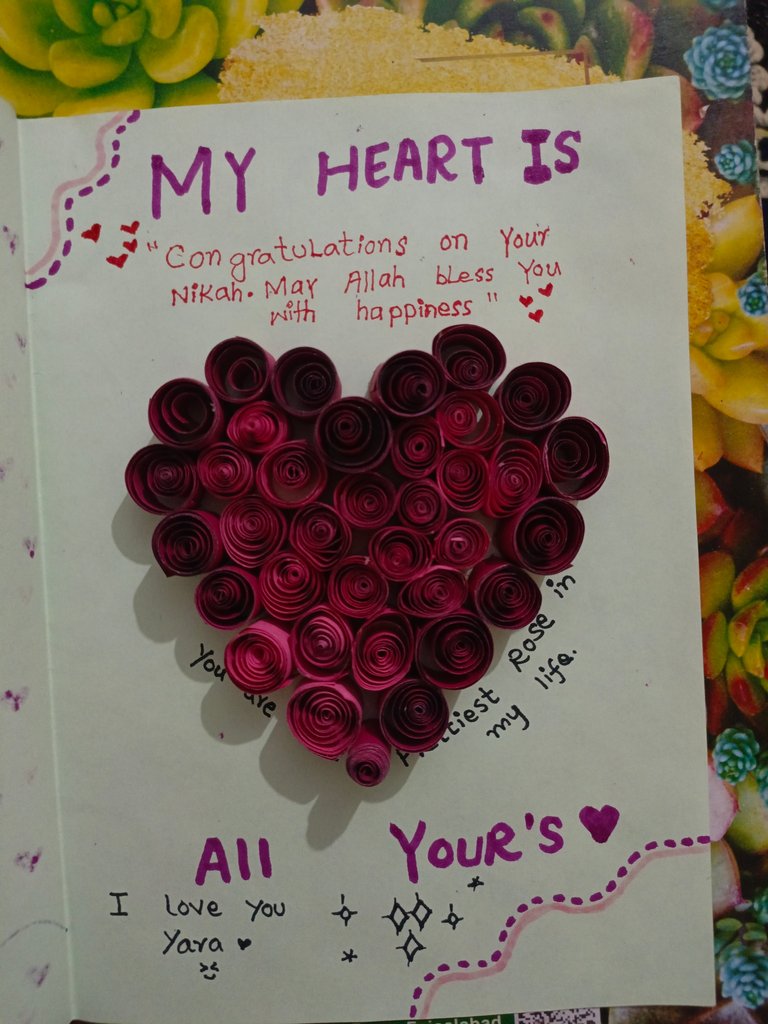
When I was making it, I didn't think it would turn out so good. I kept making it. I thought it would just be a little messy, but when I made it and completed it, it was so beautiful, and I got the benefit of my hard work and I feel great. I hope my friend will like it too and you all will have enjoyed it.
I hope you all liked it. That's all for today. See you in the next post bye bye🌹✨.
WOW! What a beautiful design! It is so charming and lovely. It looks really nice. You did a great job! Keep up the good work friend as the sky is your starting point.
selected by @ibbtammy
Thanks❤🌹
A good one !!!
Thanks❤